Argo is a set of open source Kubernetes native tools. I’ve been intending to use it and after getting started with Argocd, I’m switching all of my deployments to Argo. This post will show how you can get started with Arogcd, and why I’m switching to it for my application deployments.
What is Argocd
Argocd is a service that runs in Kubernetes and provides continuous delivery with GitOps. In simple terms that means deployments will all be driven by git commits, and Argocd will perform the deploy or updates to match what’s in git. One of the primary reasons I wasn’t doing this previously was to address the initial bootstrap of a cluster. Fortunately, it turns out Argocd has a very clean story for bootstrapping which we’ll run through right now.
Bootstrapping
Setup Microk8s
To get started, I’ll be using microk8s you can follow along from an Ubuntu machine or see the microk8s documentation for getting microk8s installed on your preferred system. Install microk8s, enable some addons, and verify the status is active:
sudo snap install microk8s --channel=1.19/stable --classic
microk8s enable dns storage
# Wait just a bit for dns and storage to enable
microk8s status
You can either use microk8s.kubectl to work with the cluster or you can get the config with
your local kubectl microk8s config > ~/.kube/config. I’ll be using kubectl throughout this
post.
The repository
The example repository on this post has a folder for several applications including argocd. Clone the example repository, and change into the argocd subfolder:
git clone https://github.com/chris-sanders/argocd.git
cd argocd/argocd
If you aren’t familiar with Helm Charts, this folder is a helm chart. It uses chart
dependencies to deploy the official Argocd Chart. The chart repository and version is defined
in Chart.yaml. I’m also using a pattern of defining a base set of values and site specific
values files. The base is values.yaml and the site specific are values-lab.yaml and
values-lab-proxy.yaml. If you have a proxy server, you’ll use the -proxy file, otherwise
we’ll be using the values-lab.yaml as the site specific configuration.
Test the deploy
You can test that Helm correctly compiles the templates with a few helm commands. If you don’t
have helm you can install it with sudo snap install helm --classic or use microk8s.helm3
to use the one packaged with microk8s.
First, download the dependency with:
helm dependencies update
This downloaded a tar file in the /charts folder. You can untar the file to review the
values.yaml bundled with the upstream chart. This file describes all of the configuration
options. You don’t need to review them for this example.
Test that the templates compile with:
helm template . -f values.yaml -f values-lab.yaml
This should produce the full set of templates. When developing a new chart this is a quick way to check that your values files and any custom templates are producing the expected output.
Deploy with Helm
For the initial install we’ll deploy Argocd with Helm. After it’s installed, we’ll tell Argocd to manage itself and all deploys, including Argocd will be done via Git.
To deploy the current folder’s application run:
kubectl create namespace argocd
helm install -n argocd argocd . -f values.yaml
Notice, we’re not using the values-lab.yaml file yet. That file adds an IngressRoute for
traefik, which will have to be added after Traefik is installed.
Accessing Argo
Check to see that Argocd installed
$ kubectl get all -n argocd
NAME                                                 READY   STATUS    RESTARTS   AGE
pod/argocd-redis-6b5d884bcf-7lg6n                    1/1     Running   0          13m
pod/argocd-dex-server-794584f57-p56mc                1/1     Running   0          13m
pod/argocd-server-5465fbf444-gnk6q                   1/1     Running   0          13m
pod/argocd-application-controller-76947d7f95-tcfvf   1/1     Running   0          13m
pod/argocd-repo-server-746c7dbf97-dxb8k              1/1     Running   0          13m

NAME                                    TYPE        CLUSTER-IP       EXTERNAL-IP   PORT(S)             AGE
service/argocd-repo-server              ClusterIP   10.152.183.67    <none>        8081/TCP            13m
service/argocd-redis                    ClusterIP   10.152.183.5     <none>        6379/TCP            13m
service/argocd-dex-server               ClusterIP   10.152.183.83    <none>        5556/TCP,5557/TCP   13m
service/argocd-server                   ClusterIP   10.152.183.95    <none>        80/TCP,443/TCP      13m
service/argocd-application-controller   ClusterIP   10.152.183.252   <none>        8082/TCP            13m

NAME                                            READY   UP-TO-DATE   AVAILABLE   AGE
deployment.apps/argocd-redis                    1/1     1            1           13m
deployment.apps/argocd-dex-server               1/1     1            1           13m
deployment.apps/argocd-server                   1/1     1            1           13m
deployment.apps/argocd-application-controller   1/1     1            1           13m
deployment.apps/argocd-repo-server              1/1     1            1           13m

NAME                                                       DESIRED   CURRENT   READY   AGE
replicaset.apps/argocd-redis-6b5d884bcf                    1         1         1       13m
replicaset.apps/argocd-dex-server-794584f57                1         1         1       13m
replicaset.apps/argocd-server-5465fbf444                   1         1         1       13m
replicaset.apps/argocd-application-controller-76947d7f95   1         1         1       13m
replicaset.apps/argocd-repo-server-746c7dbf97              1         1         1       13m
If everything looks good in another terminal start a kube-proxy so you can access the web UI. This won’t be necessary after you have Ingress on the cluster.
kubectl port-forward svc/argocd-server -n argocd 8080:443
This isn’t strictly necessary with microk8s if it’s installed locally because you can access the ClusterIP directly. At some point you’ll likely want to do this on a remote cluster so I’ve included it anyway.
The default password for the admin account is the name of the server pod. You can retreive that with.
kubectl get pods -n argocd -l app.kubernetes.io/name=argocd-server -o name | cut -d'/' -f 2
argocd-server-5465fbf444-gnk6q
Open a browser and navigate to 127.0.0.1:8080 and you should see the Argo log in screen.
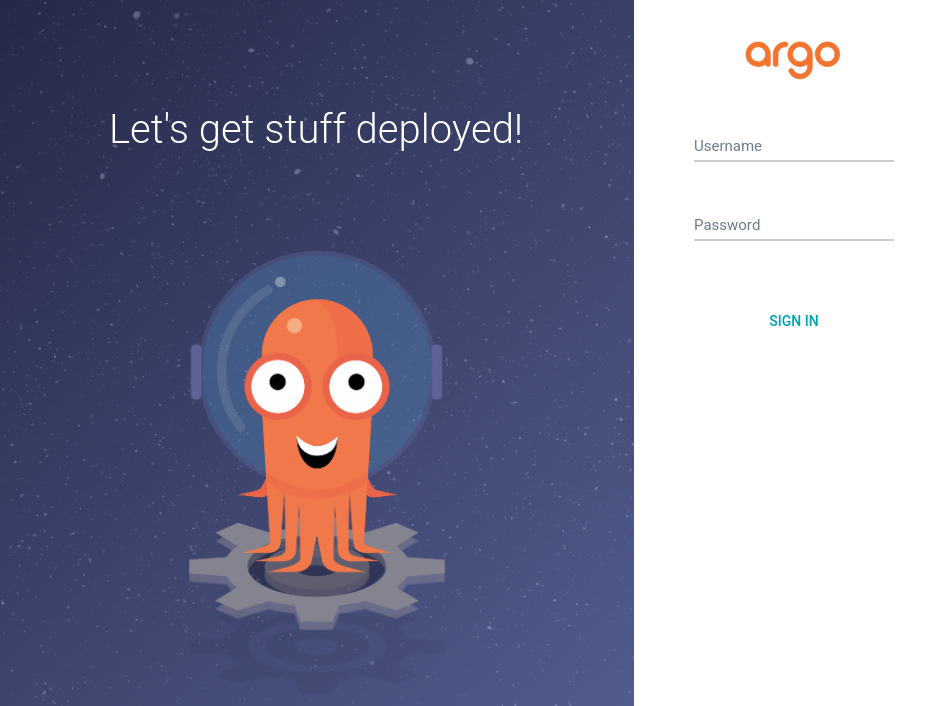
Login with admin and the pod name from the command above.
Managing Argo with Argo
Currently there aren’t any applications that Argo knows about, so let’s tell it about itself.
There is one folder in the argocd folder that isn’t part of a Helm Chart, the apps folder.
This folder has an Application which is an Custom Resource that defines what applications Argo should be
managing. Some of the key things that an Application define include:
- The name and namespaces for the application
- The target
gitRevisionto sync to valuesFilesfor this version of the application- The repository URL to sync to
You don’t need to modify this file, but in the future be careful about the namespace. The metadata namespace has to be where Argocd is installed, the destination namespace is where the application will be installed.
Install this application with kubectl to tell Argo about itself:
kubectl apply -f ./apps/argocd-lab.yaml
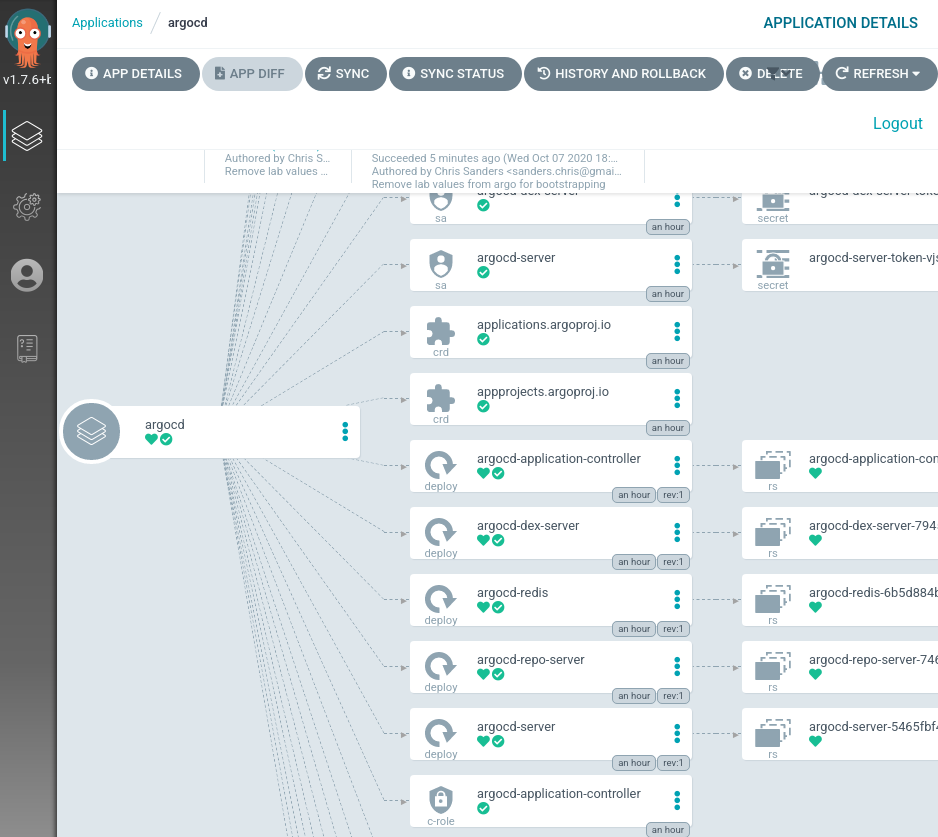
If you have the Argo web UI open you’ll see a new application added, and after a short sync period it will go green. Click on the application to see all of the components. The sync should be relatively fast, nothing has changed since we just deployed it. Argo will verify they match and not change anything.
Wrapping up
That’s all there is to it Argo is ready to handle the rest of the applications. You can check out some of the other folders in the sample repository to see other apps I’ve installed in a lab environment while testing. No need to use helm anymore, just kubectl apply the app from the apps folder, and argo will do the rest.
To get started, I typically install:
- Metallb - Provides LoadBalancers for bare metal kubernetes
- Sealed-Secrets - A one way secret encryption, some of the applications require Secrets and this is how I’m managing them, in git.
- Traefik - An ingress controller, an Argo specific IngressRoute is included in the argocd templates. Once Traefik is installed, you can enable the route and stop using the kube-proxy to access Argo.
Once you go beyond a simple test cluster, there are also Charts to handle TLS:
- Cert Manager - To register certificates with Letsencrypt
- Acme dns - To support DNS challenges, for wildcard domains via Cert Manager
- Velero - For cluster and volume backup/restore
While you can find Helm charts in many places, I’ve found k8s@home to be a good source of examples and the Discord is great to get some advice from people using Kubernetes for home labs.